Flashing the ESP32
What you need
- A computer with the Arduino IDE installed
- Your ESP32
- A USB-A to USB Micro-B cable, to connect to your computer
Preliminary steps
Make sure your USB cable can transmit data
A fully-featured USB 2 cable contains 4 wires: two are used for power transmission, and two for data. Some cables, especially on the cheaper end, only wire up the two power cables, meaning those can't pass any information.
To test your cable, you can try to plug in something that can trasmit data to your computer with that cable. An older phone, another microcontroller, a printer, whatever you might have to make sure it's known good.
The LED on the ESP32 lighting up does not mean the cable can tramsit data. All cables will be wired for power, thus the LED will always turn on, even with a bad cable
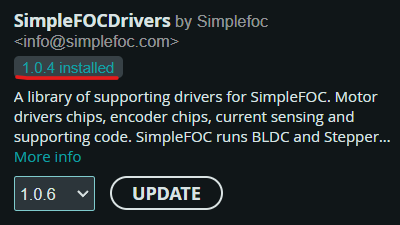
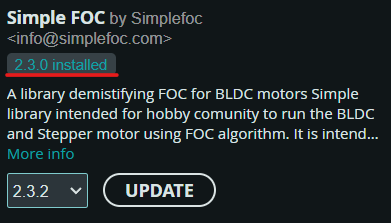
Install the required Arduino libraries
The library versions are susceptible to change if you read this page late after it was last updated
Install the USB drivers for the ESP32
ESP32 boards are designed and maintained by Espressif, who have a handy guide on how to connect to them.
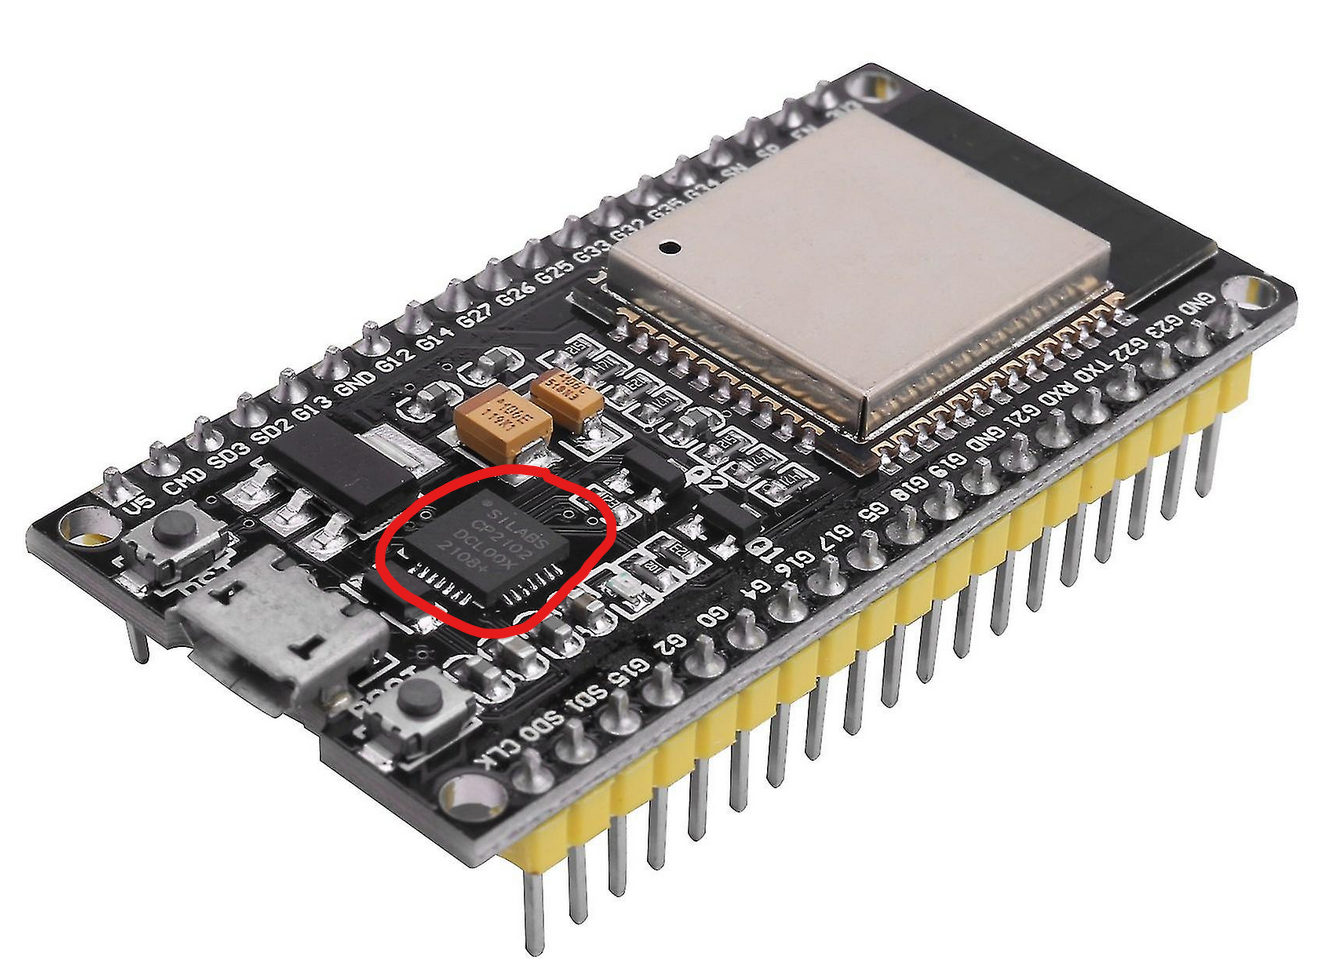
For our purpose, we only need the USB drivers, to be downloaded from Silicon Labs' website.
|
ESP32 boards should possess a
|
To install the drivers, right click the .inf file and select Install
Flashing the firmware
- Plug in your ESP32 to your computer.
With the Arduino IDE opened, select your board and COM port via the Select Board dropdown menu If you have installed the
 esp32library correctly, the board should show up under the nameDOIT ESP32 DEVKIT V1. Select it.
The COM port number will vary, it might not be COM5, but COM3 or COM9 for example.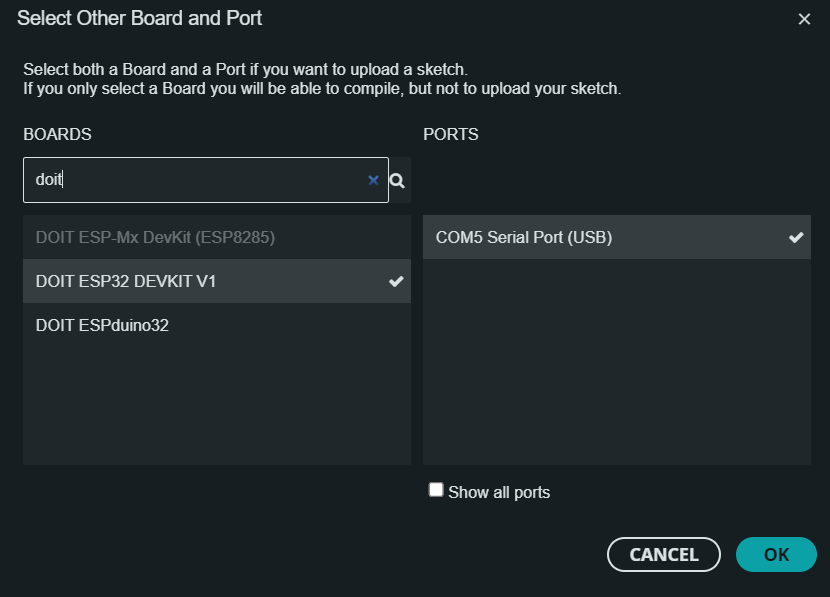
- Click on the
Uploadbutton (the right-pointing arrow) once everything is in order
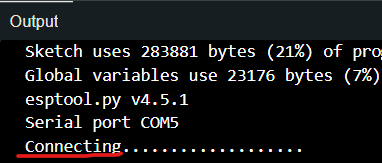
- When the console shows a line saying "Connecting..." press and hold the
bootbutton on your ESP32, until other lines show up, at which point you can release the button.
Otherwise, it won't be able to be flashed, and you'll get an error
- The end of the console output should look like this after the fact

Congratulations!
You have successfully flashed your ESP32 microcontroller with your stroker's firmware.
Next step: testing that all the axes move the right way.


